
Environment: Visual Studio Code, PlatformIO
Hardware: USB-C, ESP32-WROOM-32D
-
- Create a new PlatformIO project, select general Espressif ESP32 Dev Module
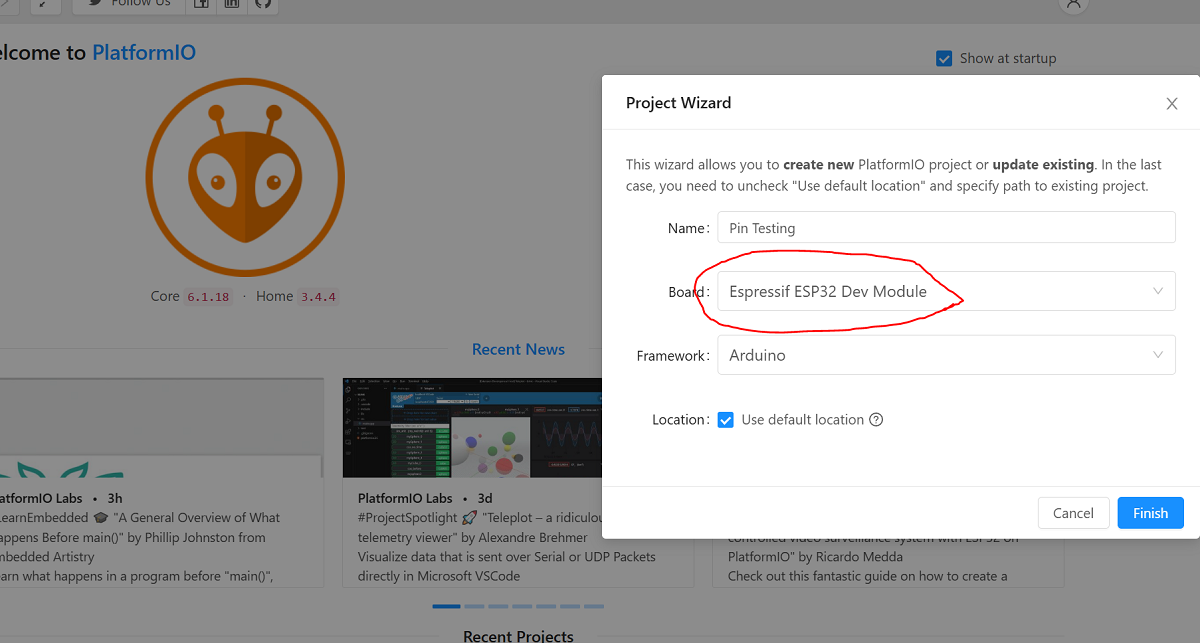
- Select default location or any other location to save the project
- Modify the platformio.ini file to add monitor_speed and upload_speed:
- [env:esp32dev]
platform = espressif32
board = esp32dev
framework = arduino
monitor_speed=115200
upload_speed=921600 - modify src->main.cpp as:
#include <Arduino.h>#define OUTPUT_PIN 13 //#define INPUT_PIN 4 // Can put a switch on this pinvoid setup() {Serial.begin(115200);pinMode(OUTPUT_PIN, OUTPUT);pinMode(INPUT_PIN, INPUT_PULLUP); // Button input with pull-upSerial.println(“ESP32 Pin Test”);}void loop() {digitalWrite(OUTPUT_PIN, HIGH);Serial.println(“High Voltage”);delay(1000);digitalWrite(OUTPUT_PIN, LOW);Serial.println(“Low Voltage”);delay(1000);// Read input pin stateint buttonState = digitalRead(INPUT_PIN);Serial.print(“Input Pin State: “);Serial.println(buttonState);}
Use a multimeter to measure the voltage at Pin 13 and observe the output in the Serial Monitor.